Powder coating is a process similar to painting but which results in a much harder and more durable finish than usual paint. I always assumed that only fancy facilities dedicated to powder coating could do it, but it’s actually quite easy to do it yourself at home.
Powder coating powder comes in pretty much every color and finish you can imagine and it can be purchased online in small quantities reasonably inexpensively. In fact, getting everything I needed to start coating was surprisingly inexpensive.
There are a couple of caveats though – the applicator gun can be hard to find and you’re limited to coating things that are metal and that can fit inside the oven you use.
Things you’ll need
There are three main things you’ll need: The applicator gun, powder, and an oven.
Powder Coating Gun
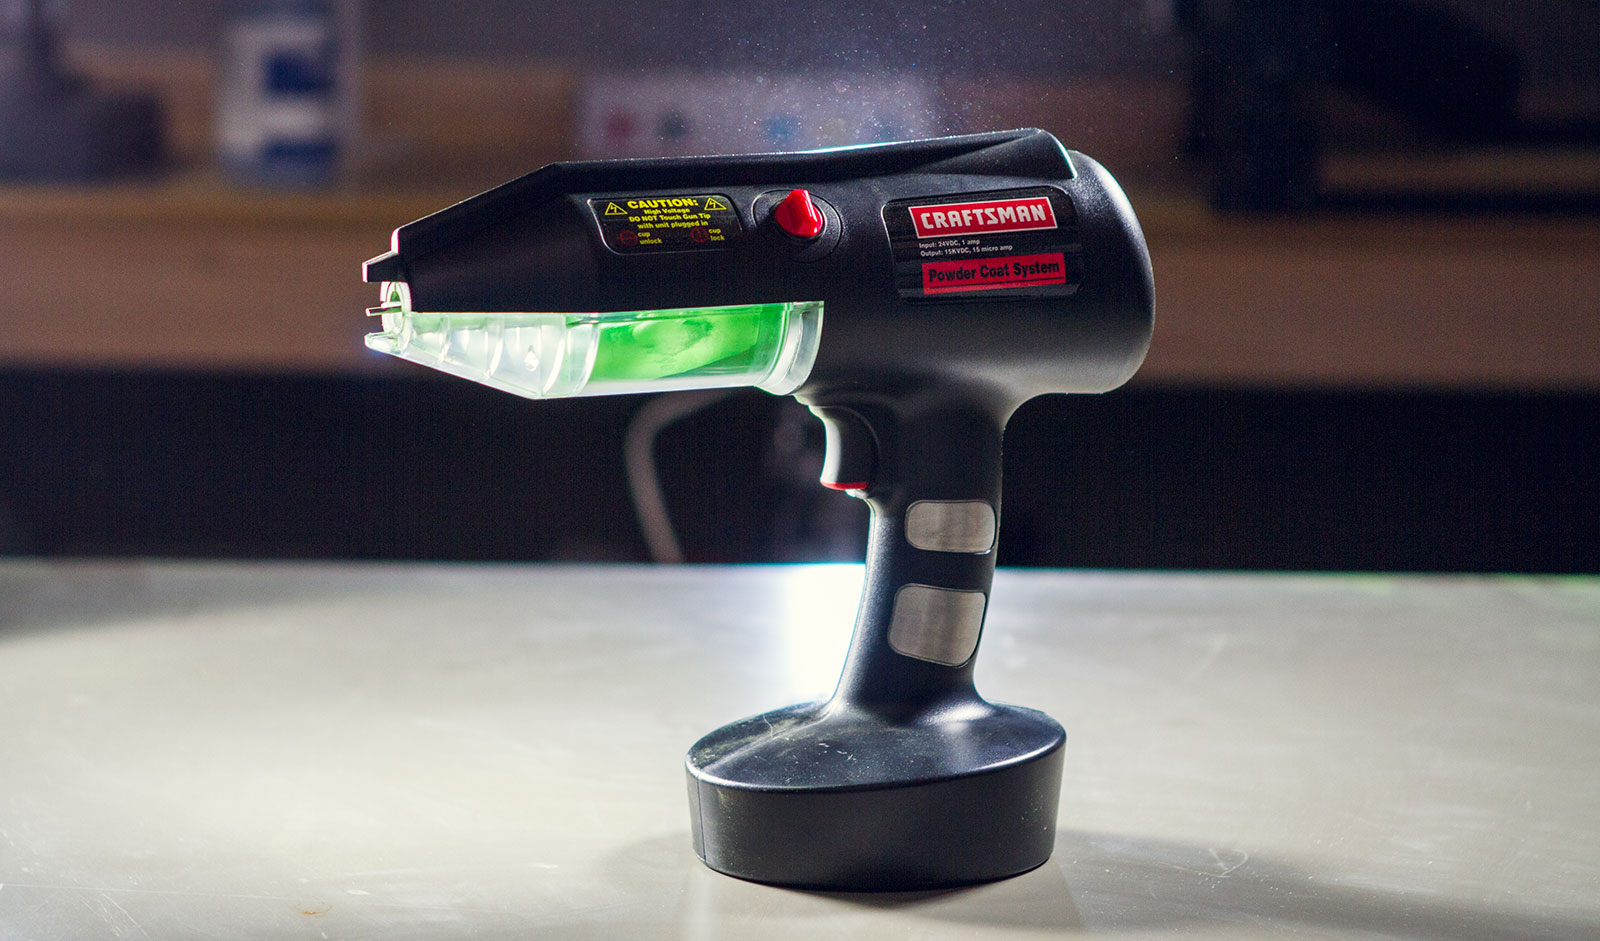
This Craftsman Powder Coat Gun seems to be the go-to tool for DIY powder coating, however, they apparently stopped producing them a number of years ago. I found mine on Amazon via a 3rd-party seller for about $50. There seem to be plenty of new ones on eBay currently, so they’re not impossible to find.
Powder
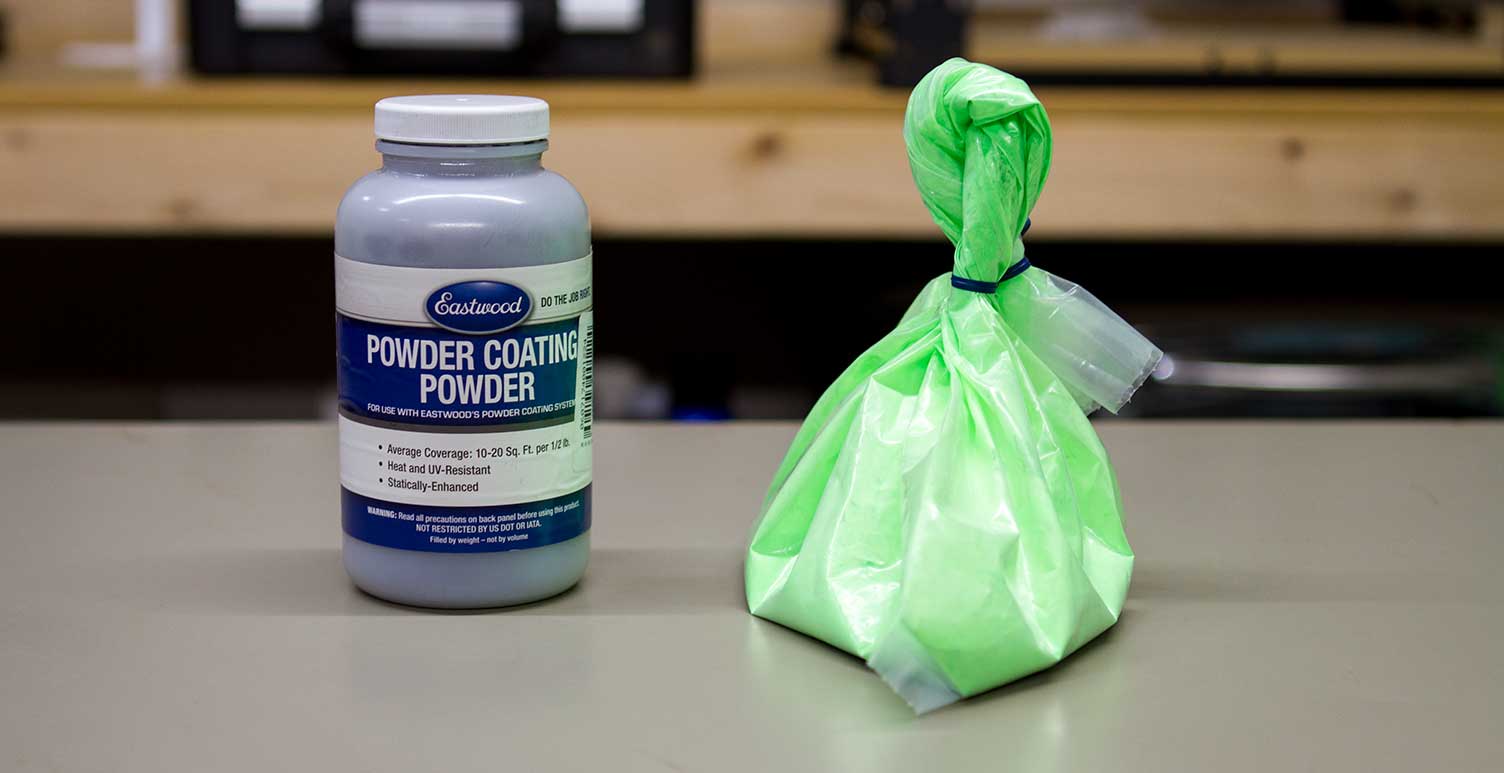
Powder is easy to find online too. There are two brands of powder in the photo above. Eastwood on the left, which I purchased from amazon (½lbs. for about $15), and Prismatic from prismaticpowders.com, which was about $25 for 1lbs. I think I’ll be buying Eastwood from now on because the bottle is so much more convenient than the random bag.
An Oven
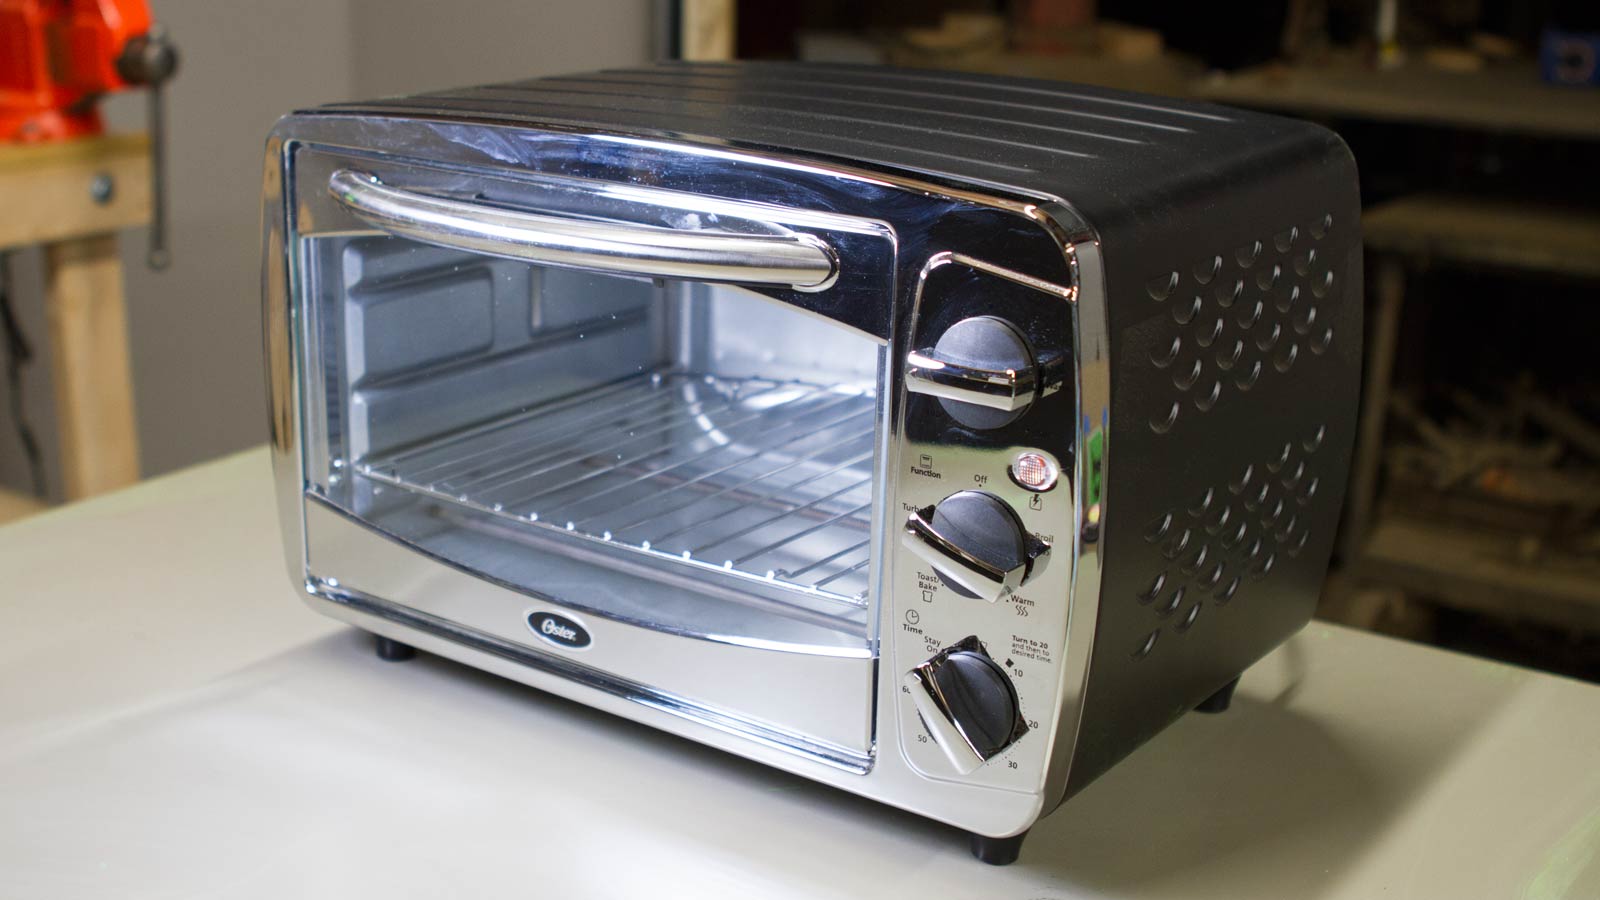
I bought this toaster oven from Walmart for about $40, but an old one would work just as well. Just make sure to never use the oven for food again, who knows what weird chemicals get left in there 😷
How to Powder Coat
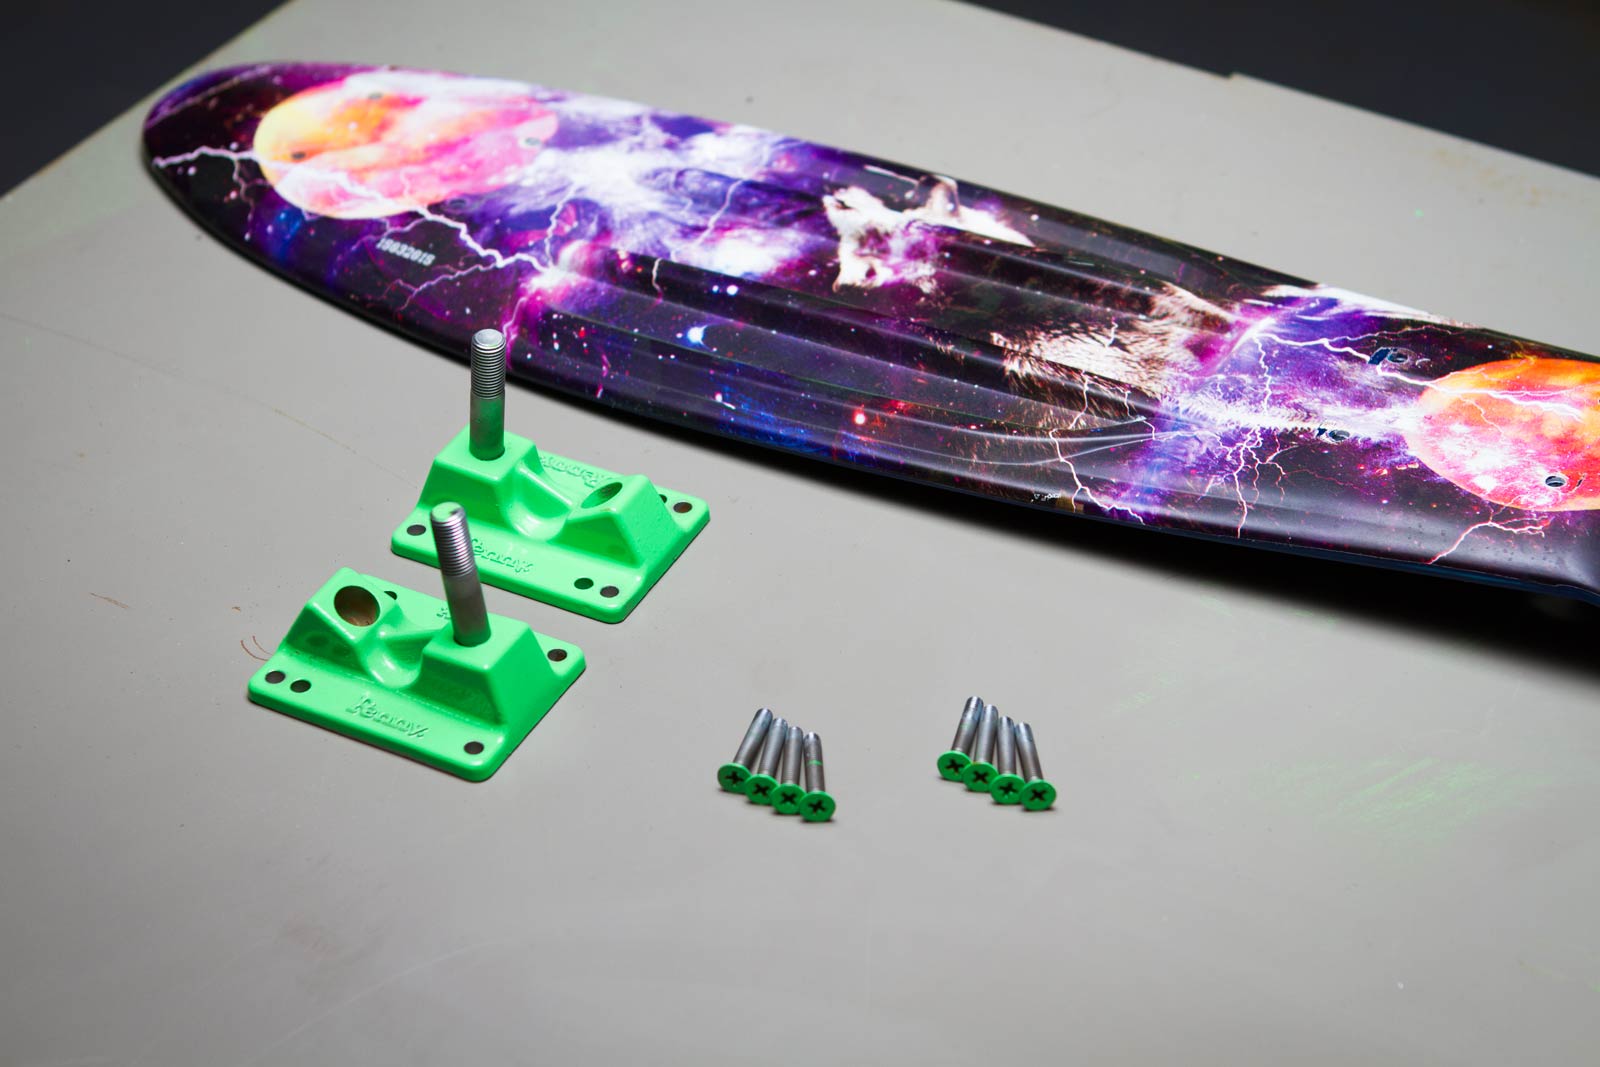
I recently bought a Penny skatebaord and have been riding it all over the place. It’s so portable and fun that I never leave home without it. But for some reason I just wasn’t happy with the color scheme.
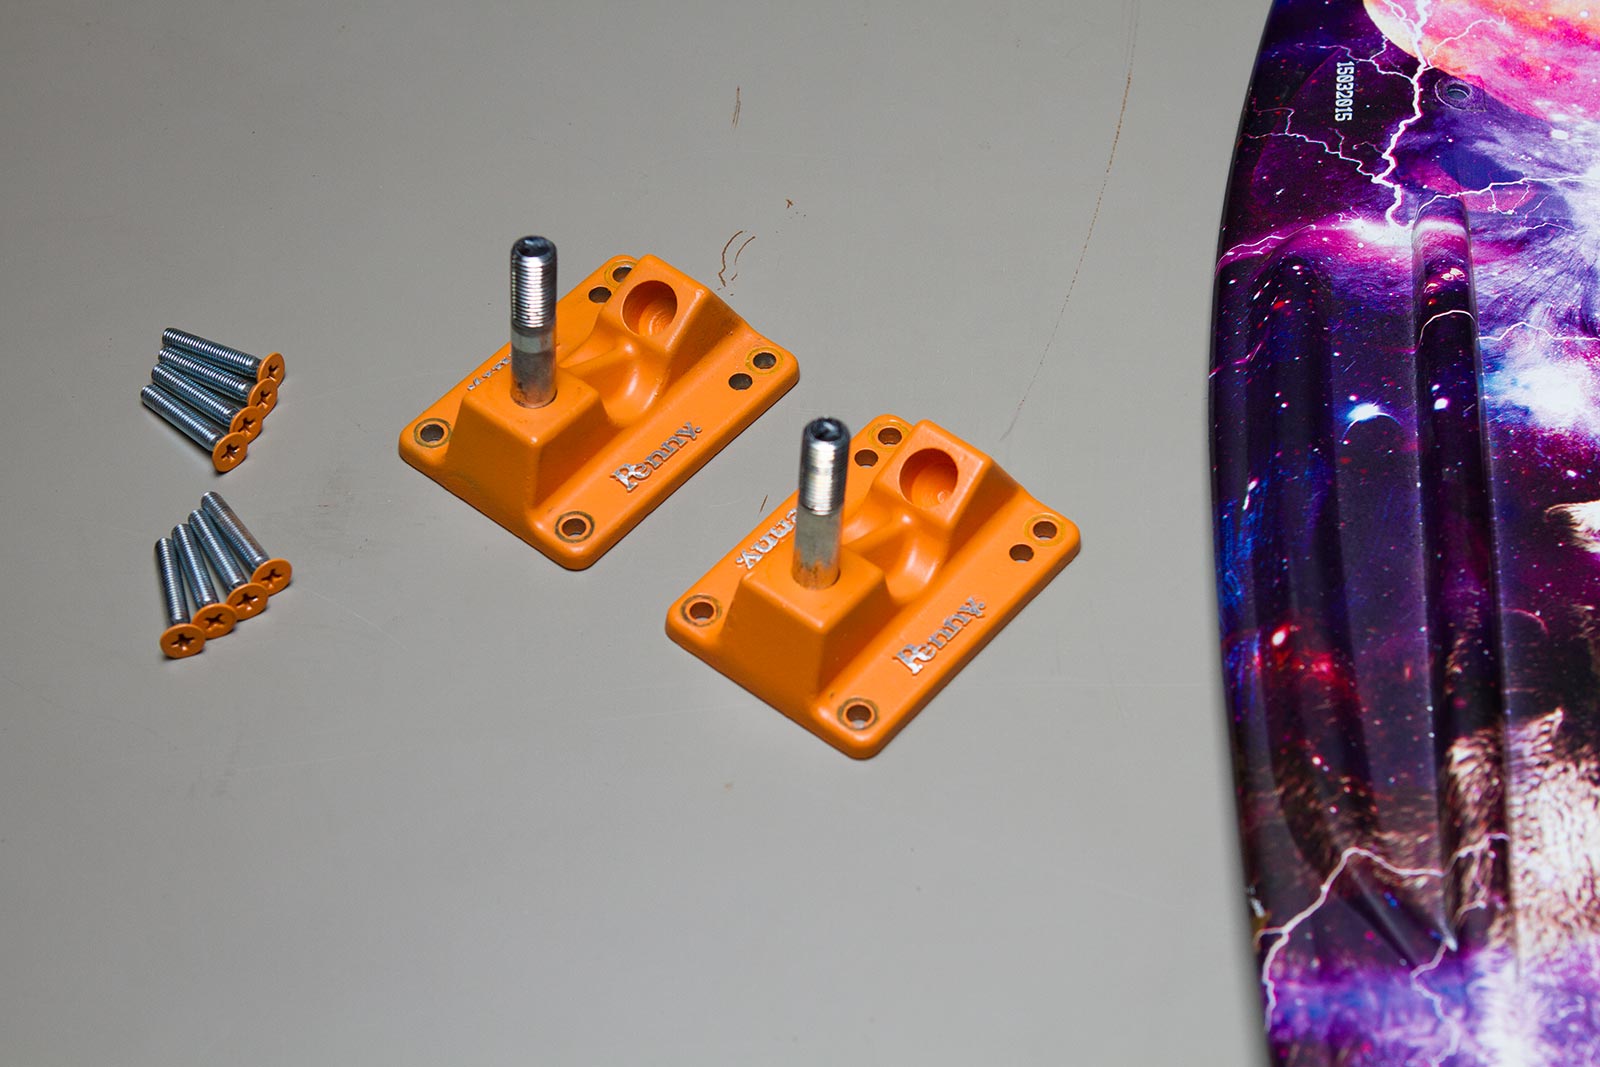
The orange trucks and hardware just didn’t go quite right with the blue and purple deck. Perfect excuse to get out the powder coating gear!
Preparation
Preparation is key with powder coating. The cleaner you can get the object the better the coating is going to flow and the less imperfections will show up in the final result.
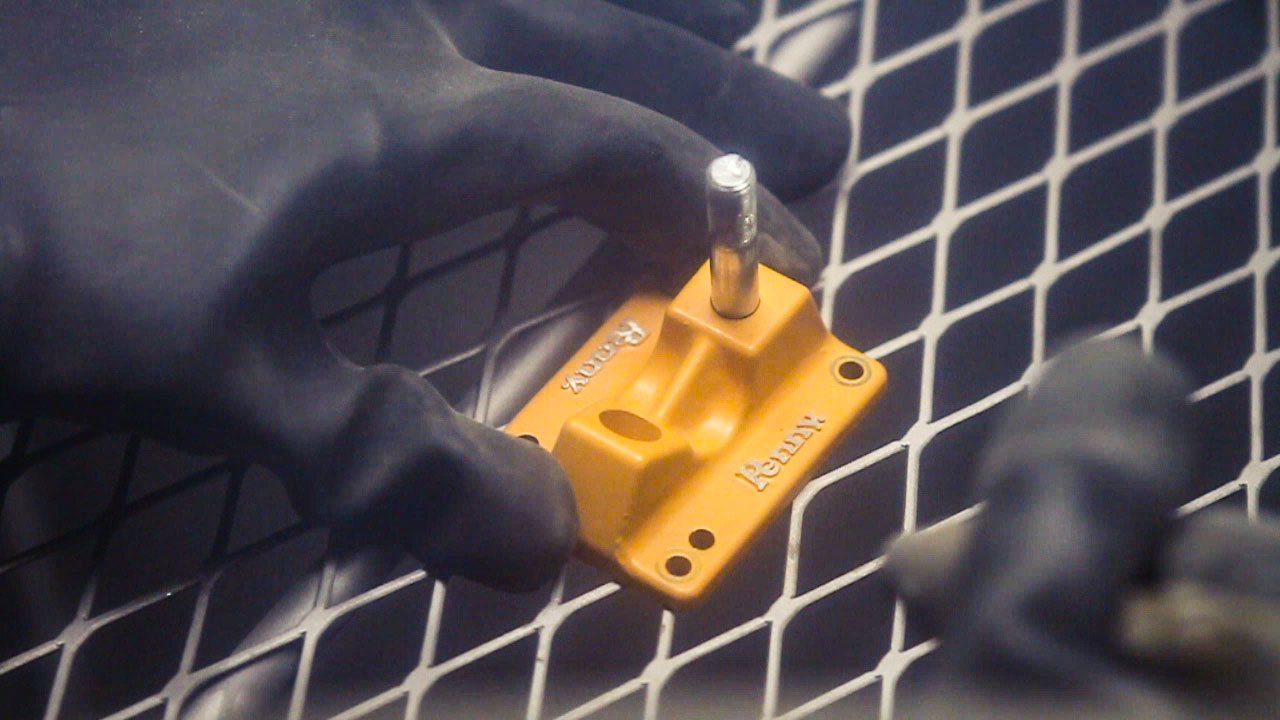
I used a sandblast cabinet to remove the orange coating from the trucks and hardware. It was much harder to get off than I expected – took quite a bit of blasting but it did eventually give up.
After cleaning it’s time to mask off areas that need to not be coated. This can be done with a special high-temp tape (some comes with the gun kit, but it’s also available from amazon) and holes can be plugged with silicone plugs (which also come with the gun or amazon). Just don’t forget that anything you use to mask has to survive in the oven, so don’t use masking tape!
Coating
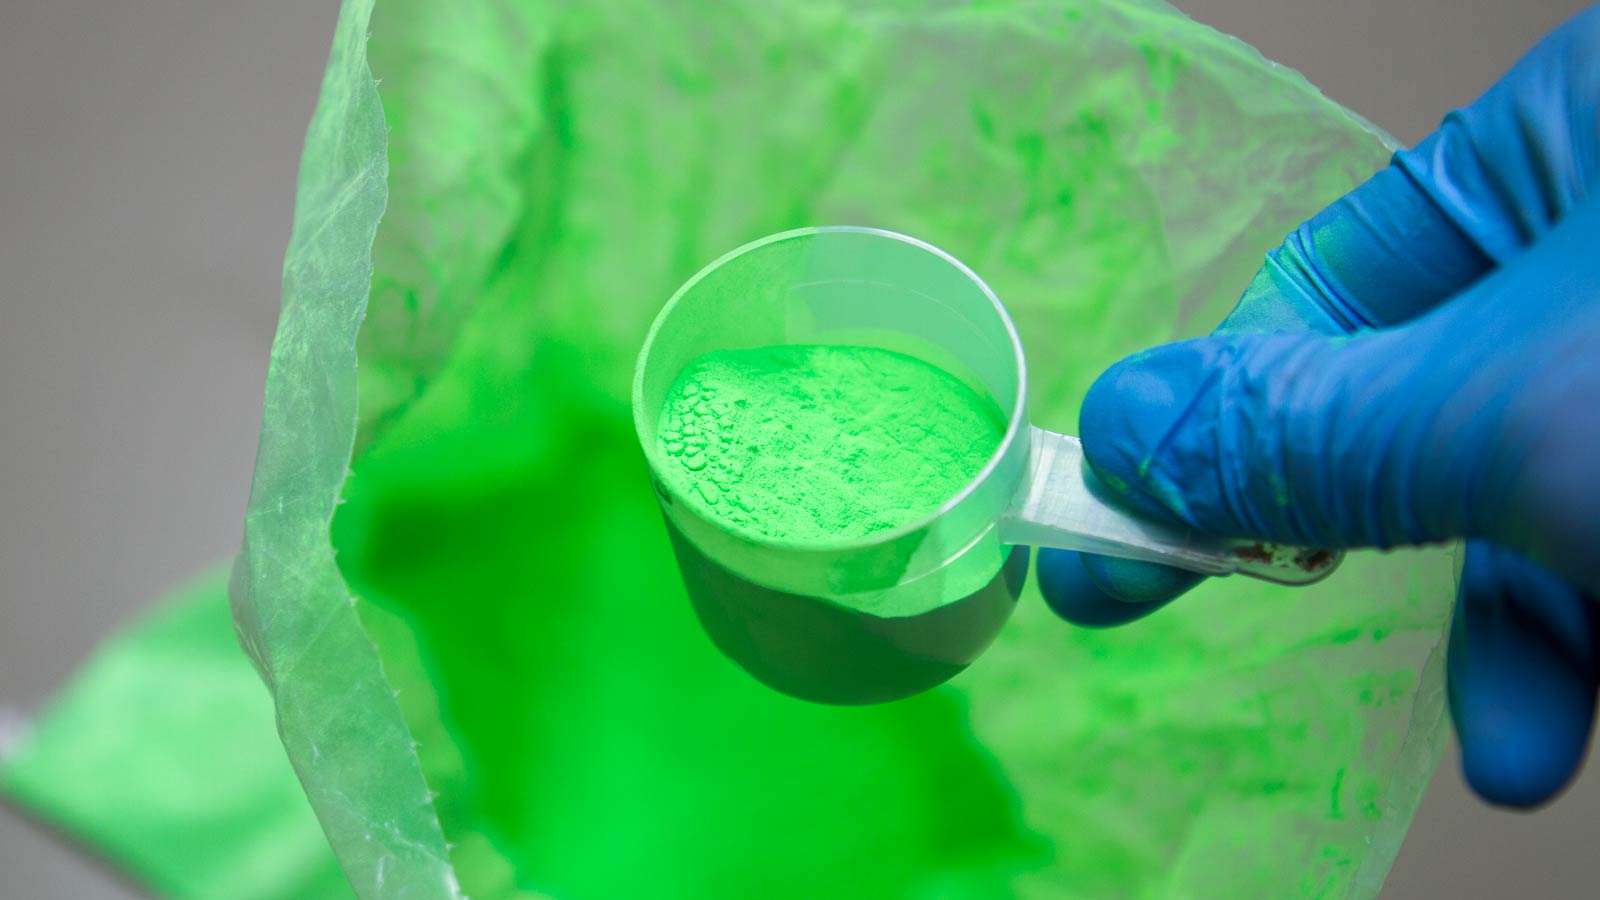
I got a pound of lime green gloss from Prismatic Powders. This stuff is really fine so make sure to wear protective gear – especially a respirator – while prepping and spraying.
Loading the gun is straight forward. I tend to only fill the canister about half way which seems to allow for good flow.
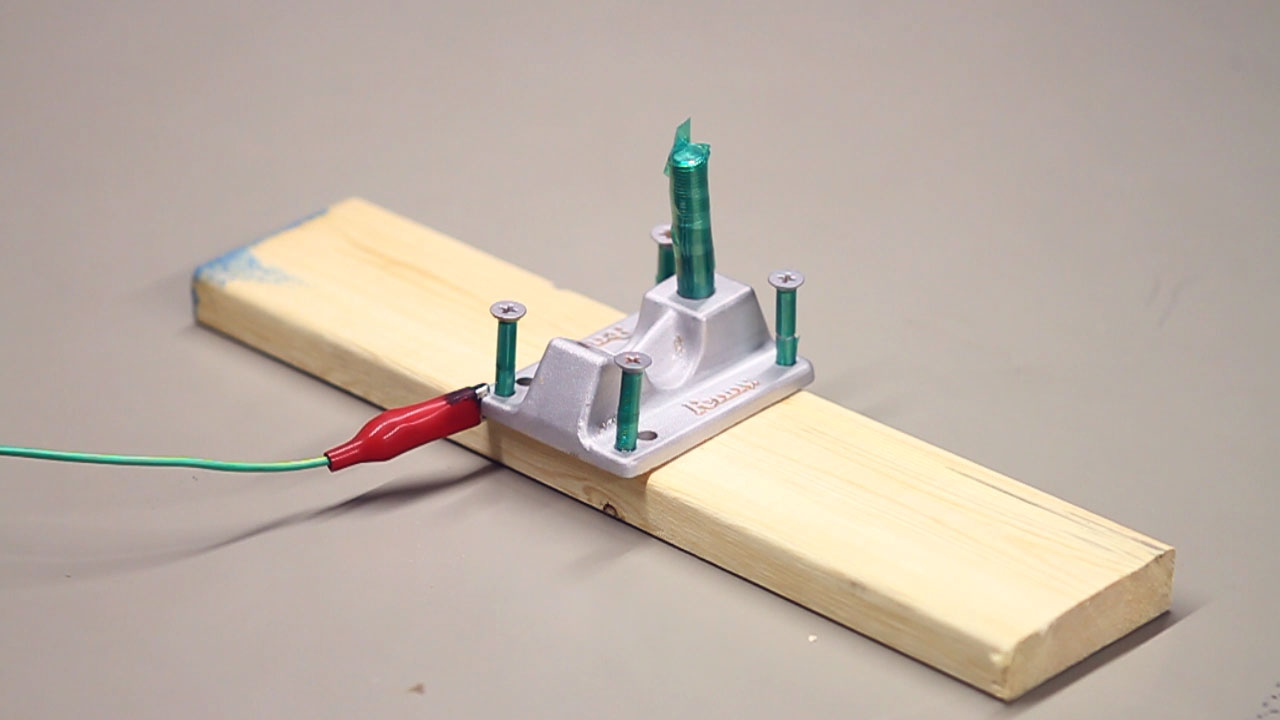
Powder coating uses an electrostatic charge to attract the powder particles to the object you’re coating. To make it work you’ve got to attach the ground lead to the object.
Then all that’s left is using the gun to get a nice coat of powder on the thing. The charge makes this easy because all you really need to do is make a cloud of powder and the charge ‘sucks’ it onto the surface.
If the clip is blocking a section that needs coating it can be removed so you can spray it, it just won’t ‘suck’ in quite as well.
Baking
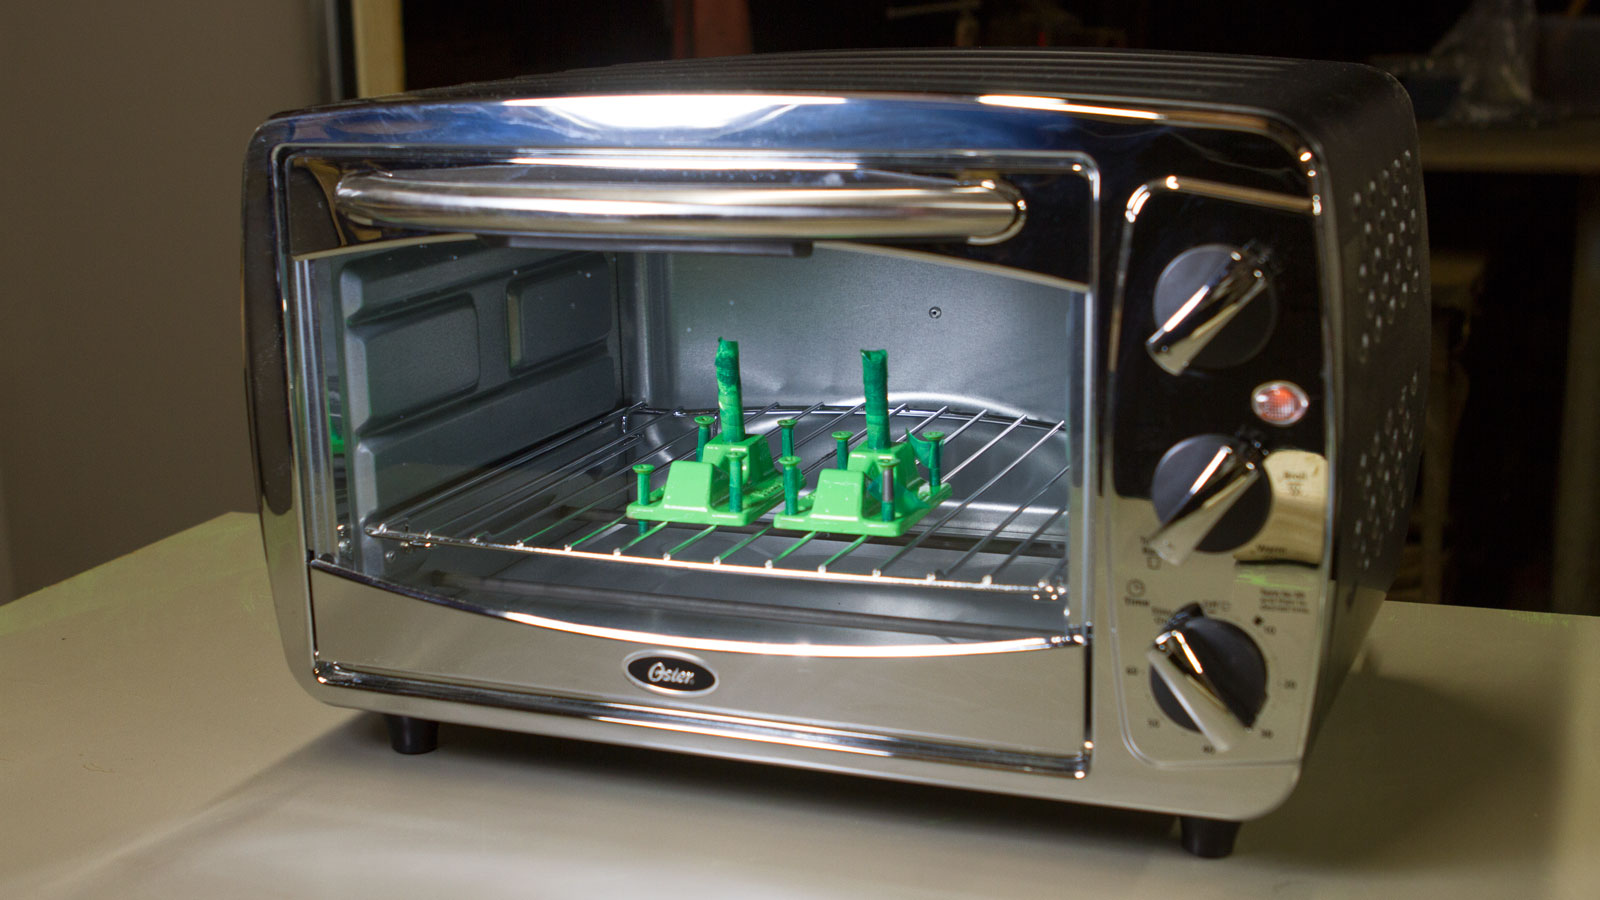
The curing process can be done with a toaster oven or a regular oven, but as stated above – don’t use it for food after this! Here’s how it goes:
- Preheat oven to 450°F.
- Carefully place parts inside oven, making sure not to bump off the powder. You may need to rig up a way to hang items if all sides are coated.
- Watch the parts – once the powder looks liquefied over the entirety of each part set the temperature back to 400°F.
- Bake for 20 minutes at 400°F to complete the cure.
- Remove the parts and allow to cool.
- Done! Once cool you have a finished coat and can install/reinstall/use your parts!
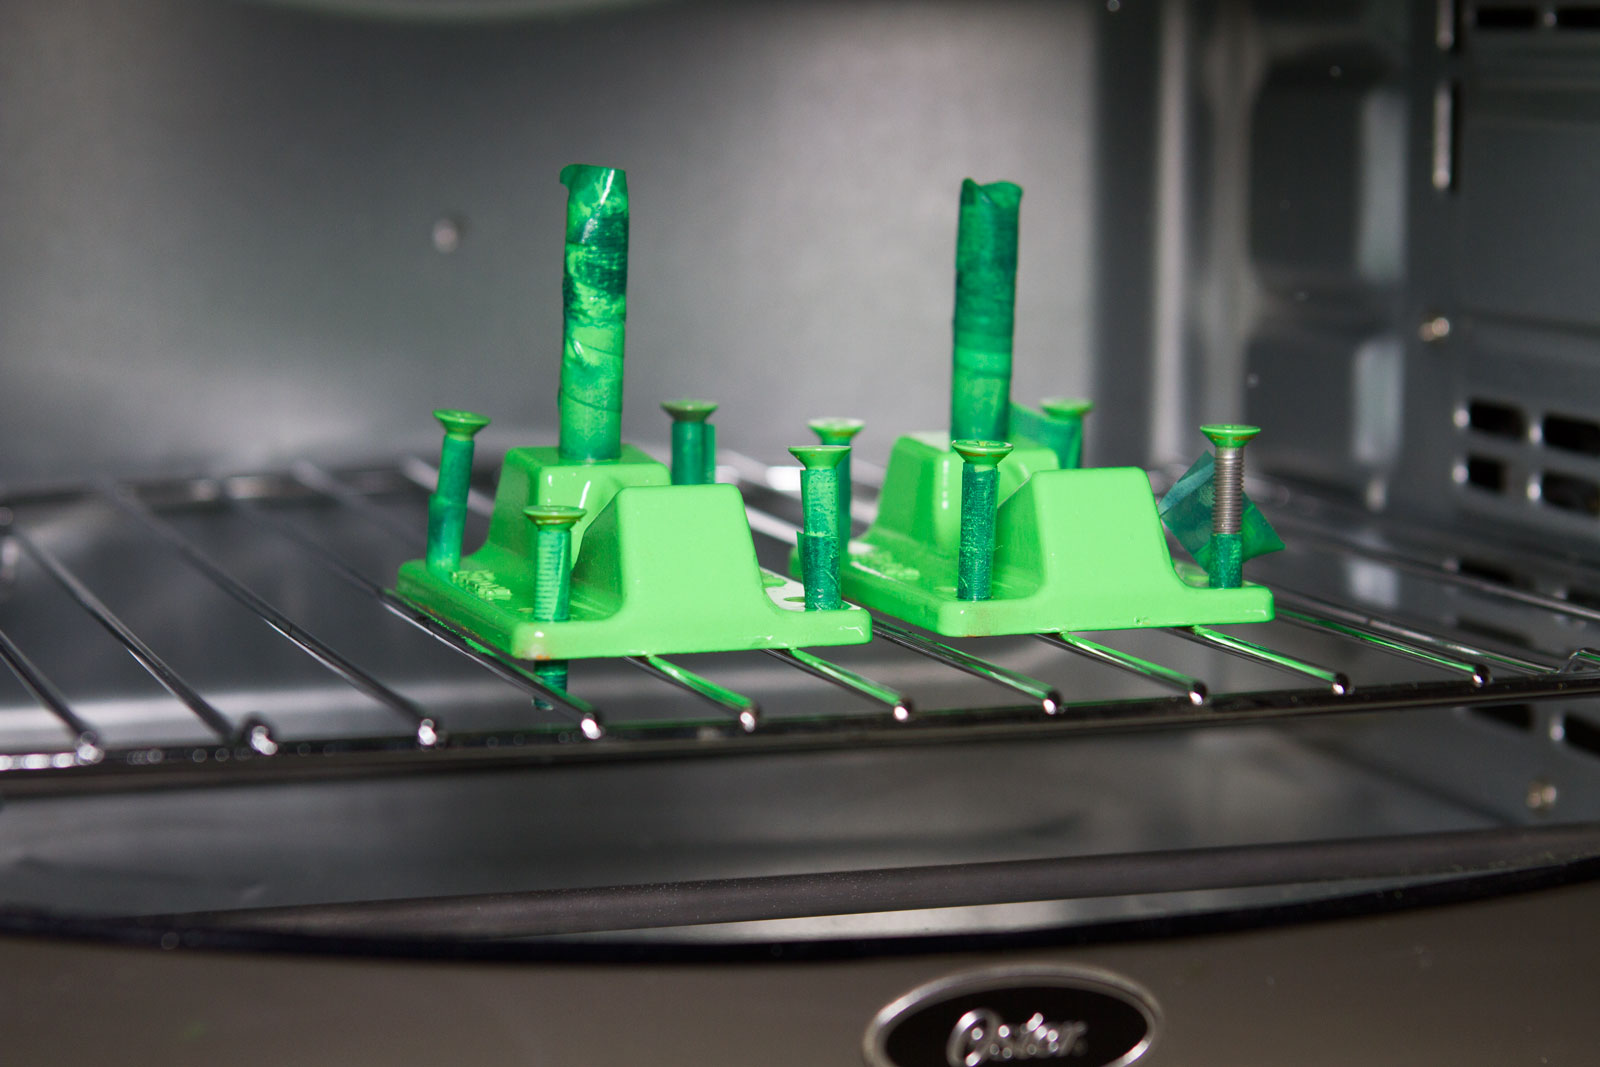
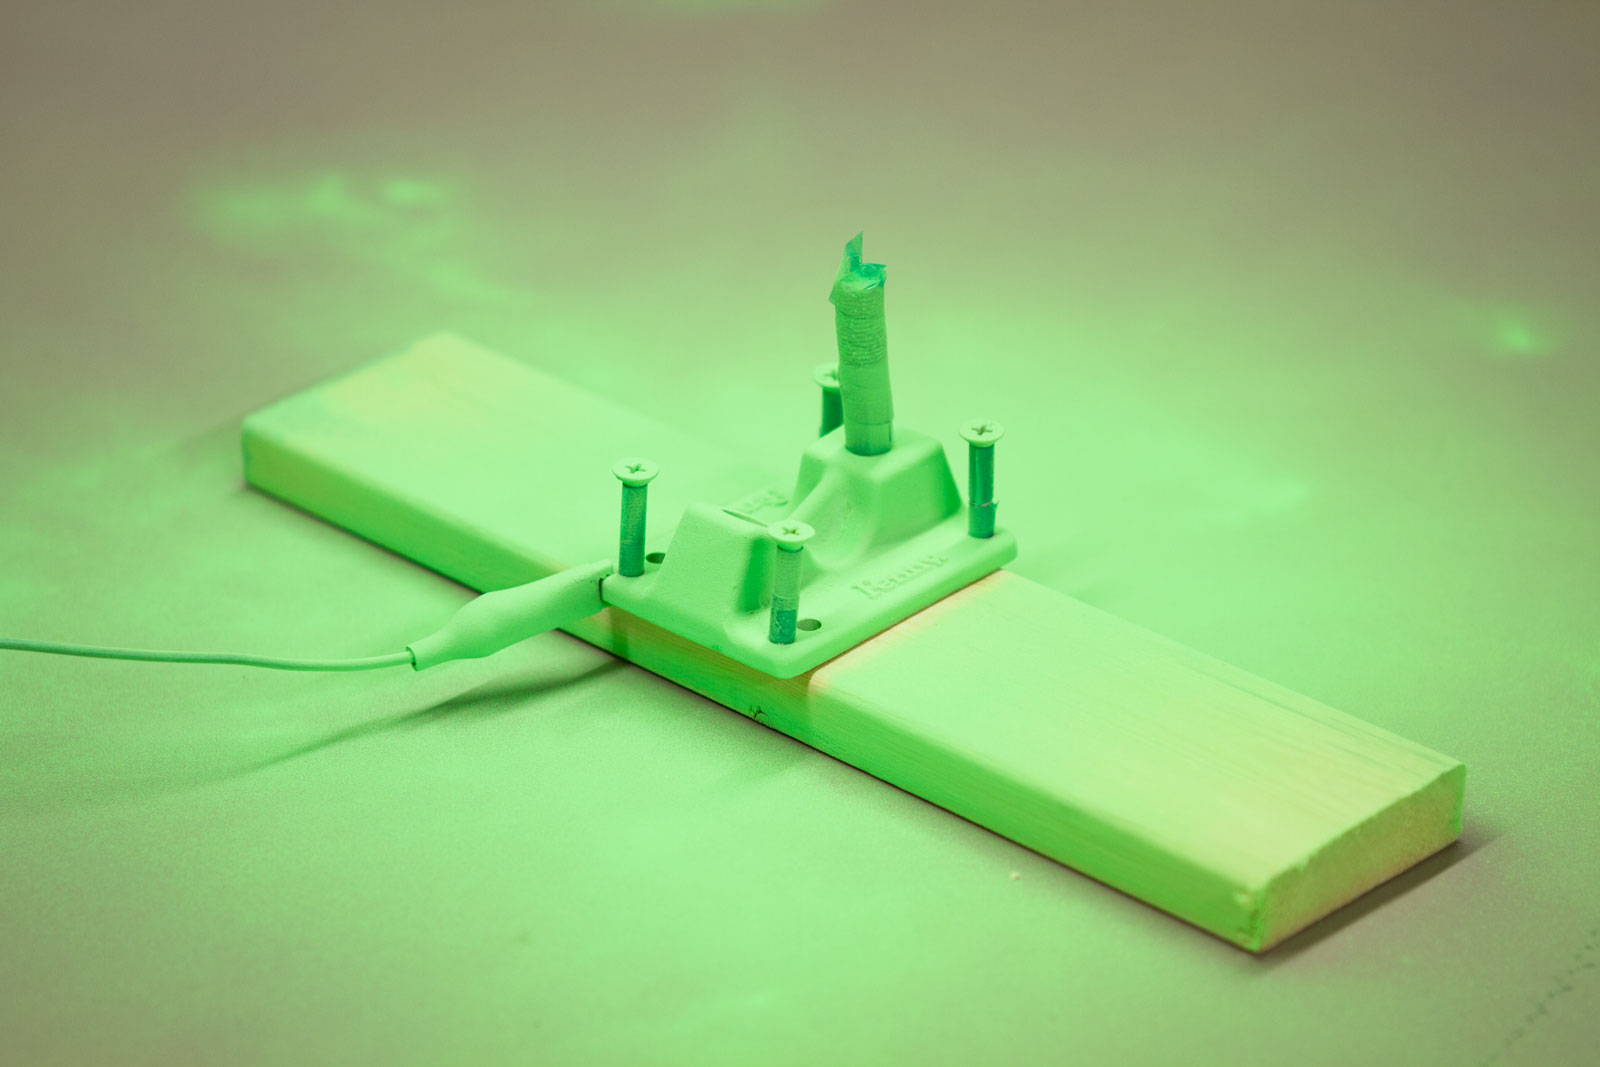
Notice the glossiness in this photo above. It took about 5 minutes for the parts to get up to temp and the powder to start flowing.
Reassembly
Success! These parts turned out great and I already love how the color looks with the deck graphics.
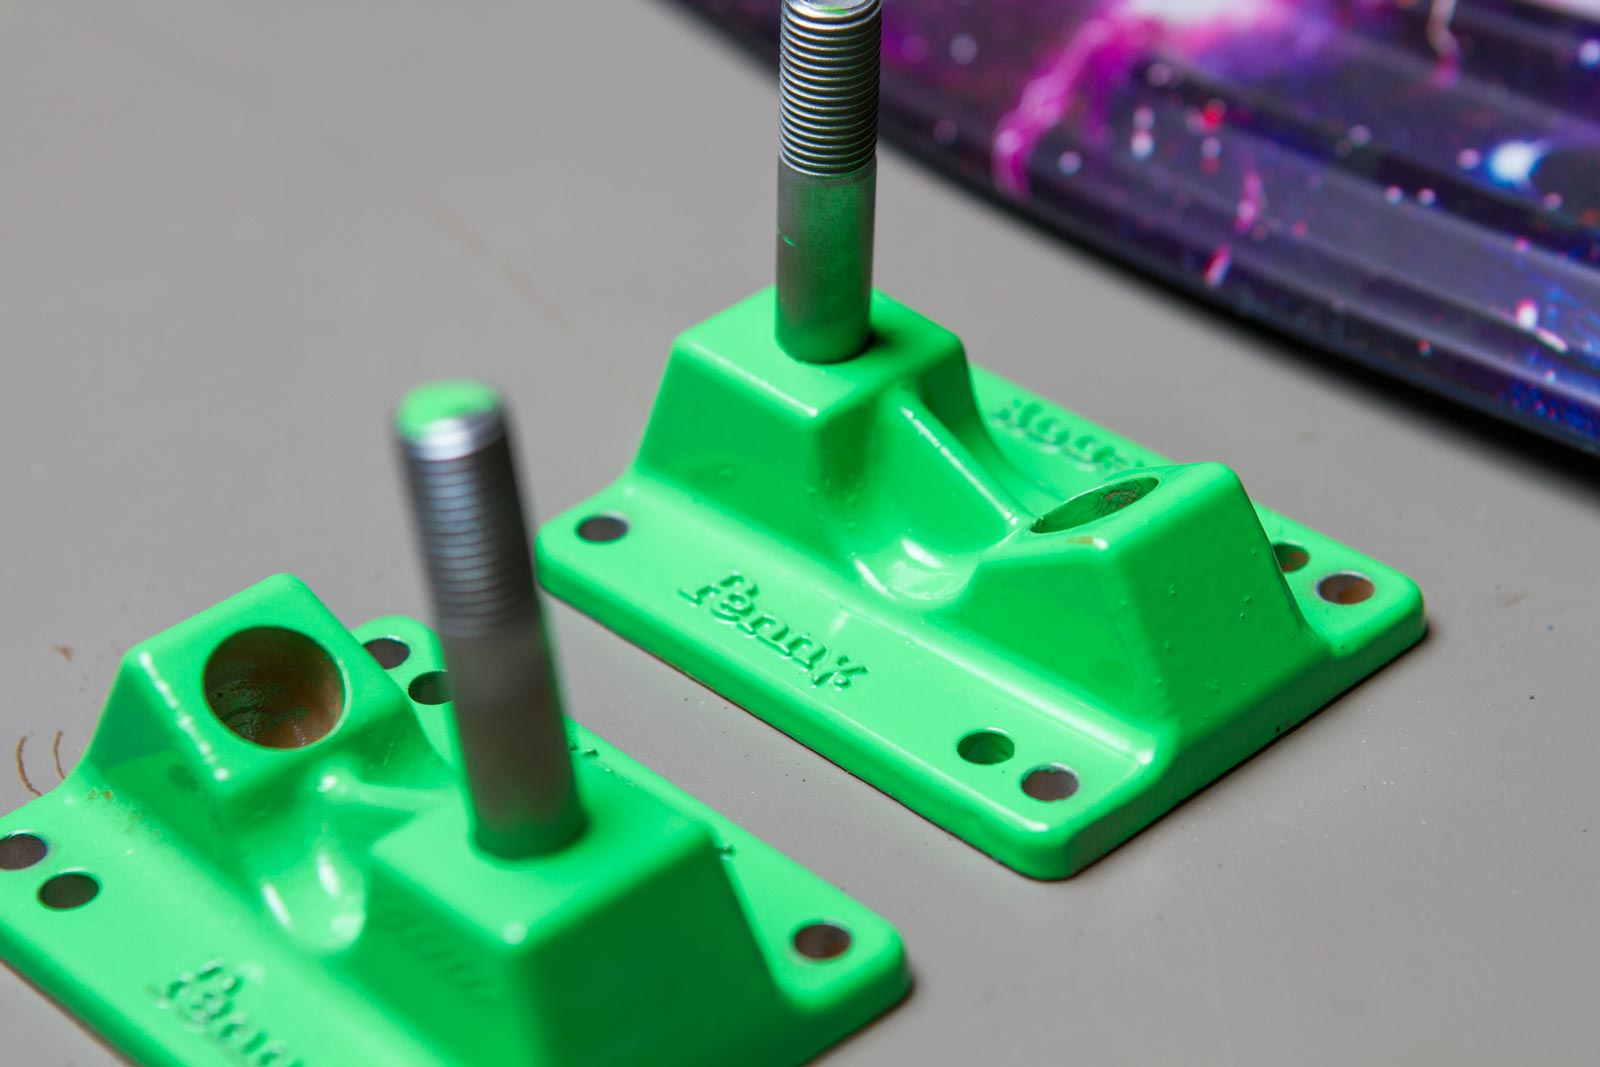
There is a little bit of imperfection in certain parts, most likely caused by dust or other foreign debris. I could have done a better job cleaning the parts during prep. These don’t need to be perfect so I’m quite happy with the quality of the finish.

Ahh, so much better! I plan to put a lot more miles on this board and now it’s uniquely mine, which feels great. I’ve put together a process video that’s embedded below in case you’d like to check that out as well.
Let me know if you try powder coating at home! 🔩🔧